Viewing entries in
blog

Bluetooth SIXAXIS PS3 Max for Live Device Parameter Controller

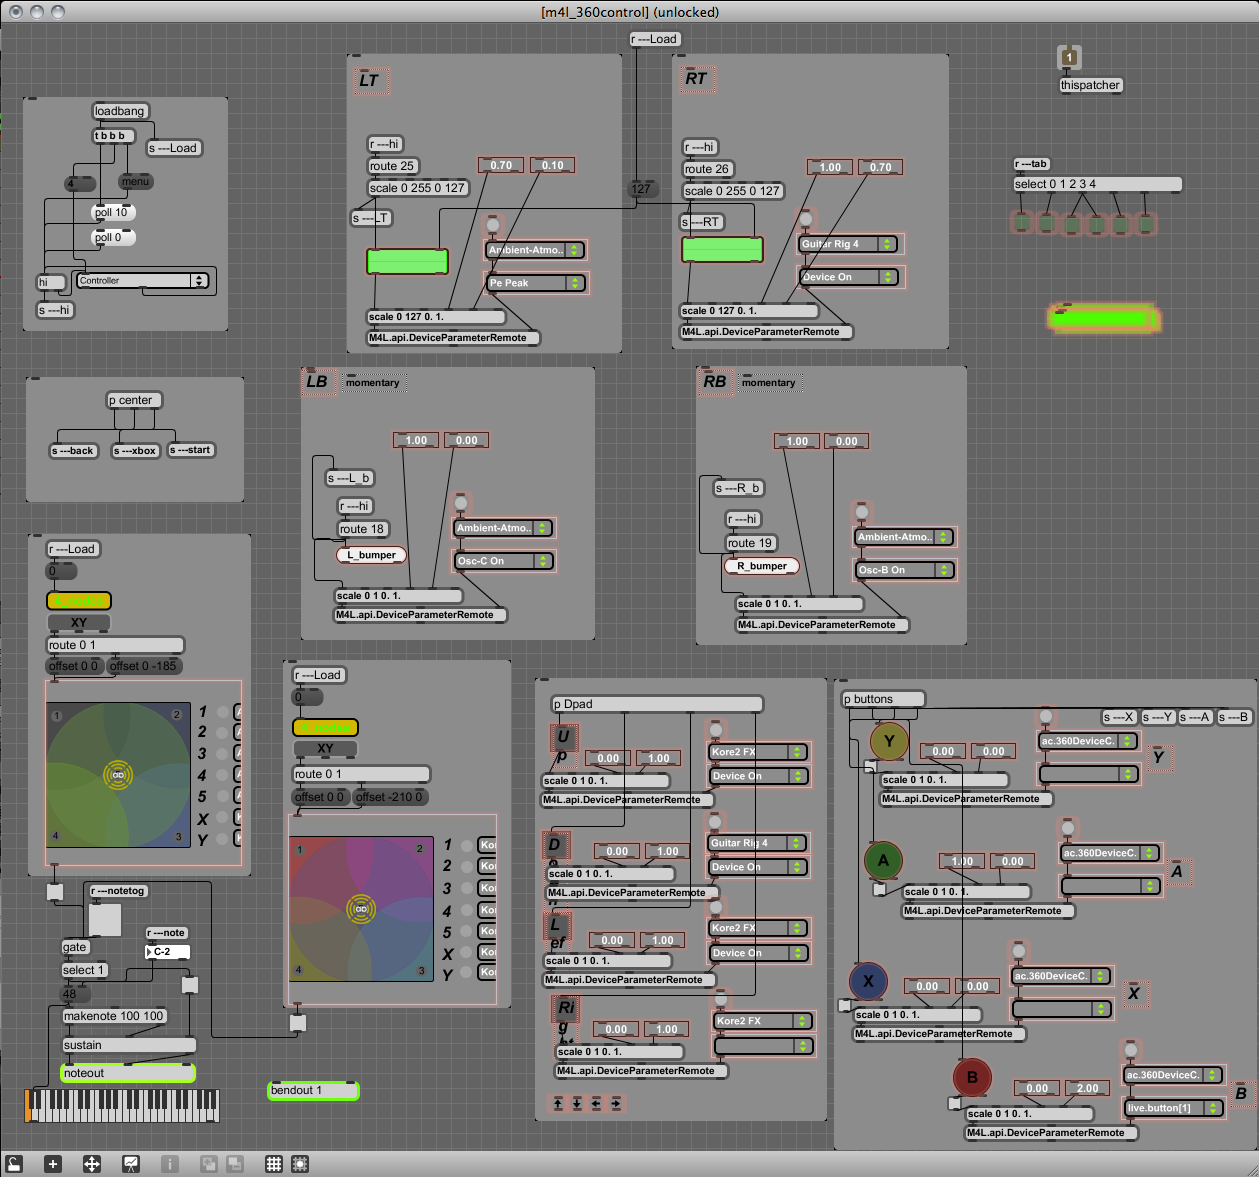
Since I modified my Open Sound Control patch to work with a PS3 controller, I had to go ahead and port it to Max for Live as well. Its pretty much the same layout as the 360 version but with more features to support the sixaxis variables and button pressure values. I'm just experimenting here with a simple beat, some preset morphing and multi effects.

Bluetooth SIXAXIS PS3 OpenSoundController

After connecting my bluetooth sixaxis ps3 controller to my mac and discovering that the sixaxis vales and button pressure get passed to Max, I had to make a ps3 version of my OpenSoundControl converter app. Plus its wireless so I can just completely lean back in my chair and have fun controlling stuff:) I'm showing some of its functionality with the brilliant sample layer tool created in Reaktor by Twisted Tools.
(twistedtools.com/shop/reaktor/s-layer/)  
I've also seen the new ps4 controller which looks slick, can't wait to hack that as well.

winning bet at the horse races

This is a mix of multiple angles of a winning bet made at the Hastings horse races with my brother and brother in law. we ended up winning $300 on this race alone. good times

XBox 360 Ableton Live device parameter controller

This patch started as an OSC game controller that I decided to port to Max for Live to take advantage of the device parameter control API. It was a pretty painless port, most of the work was trying to fit everything into the narrow UI space and attempting to execute a clever way to tab through the 5 pages of control options. I think it turned out pretty nice, its still got some bugs but is a lot of fun to experiment with. 

As in my OSC patch, I’ve made each message range scalable for fine tuning control possibilities. There are 5 nodes for each joystick plus XY values which gave me 7 possible control parameters for each joystick! I also implemented an adjustable sustained noteout message when pushing the sticks down so I could trigger pads and arpeggiators with the same controller.

I again pretty much randomly assigned a bunch of controls to an arpeggiator, percussive synth, drum machine parameters, ambient synth, effects, effects and more effects:) Check the vid if you’re interested to hear some results. Sound starts at 00:18 seconds.

XBox 360 OSC Controller

I have wanted to do something creative with a game controller ever since I first discovered the [human interface] object in Max. And as soon as the new Nodes object was released I thought a great implementation would be to use it with some sort of joystick. 

I’m using MaxMSP to receive all the control data from an XBox 360 controller and converting it to OSC messages to be used with any program that accepts OSC, in this case Reaktor. I’ve made each message range scalable as well, for fine tuning control possibilities. 

I added 9 nodes for each joystick which gave me 11 control parameters (including XY) for each joystick! It was a little unpredictable to know what kinds of results that would achieve but that was the fun part :) 
I pretty much randomly assigned all the controls to this ring modulating synth and buffer effect Buffeater (twistedtools.com/shop/reaktor/buffeater/)
Fun times.

Max for Live version in progress as well which will use Abletons device parameter control API. Will post when I have time to finish it.

MaxMSP Lotto649 number generator

This was mostly an exercise to generate random lottery numbers, evaluate them, and display them in a meaningful fashion using only MaxMSP. It is a random number generator for Lotto649 (#'s 1-49) which also incorporates 9 factors that have proven to be true for all winning numbers about 85% of the time. The random numbers are guided into ranges, evaluated and displayed for you to decide if you’d like to use them as is, or fine tune them for a better evaluation. The factors break down as follows:

Factor #1: 
Your first position number should be in the range of 1 to 13. The majority of winning combinations start with these numbers. The same goes for the last number which should be in the range of 38 to 49. Ranges for the numbers for the second, third, fourth and fifth positions are given in the following table. At least 85% of all winning numbers fall within these individual number ranges. If you choose your numbers outside these ranges, you reduce your chances of winning to 15%.

Factor #2: 
Refrain from choosing all odd or even numbers - use a combination of both. Keep your mix to the highest percentage ranges for winning.

Factor #3: 
Your addition or SUM can be seen in the table to see what range your SUM falls into. Now check the PERCENT column to see what your percentage chances are of winning.

Factor #4: 
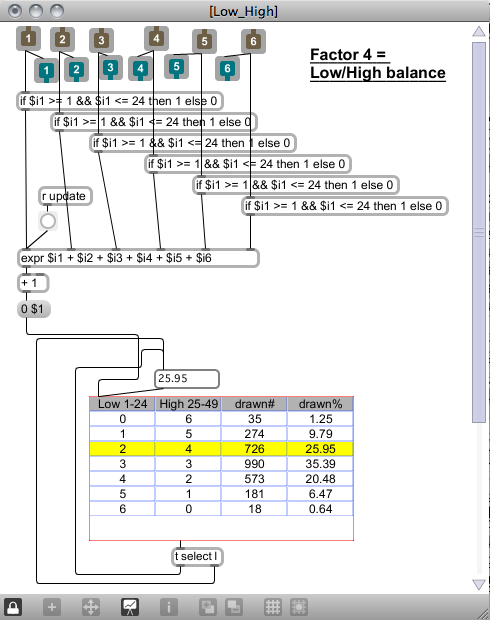
This Strategy examines the total number of times each winning combination had Low Numbers (1 to 24) versus High Numbers (25 to 49). Check your number combination to see how many of your numbers are Low and how many are High. Try to keep your chosen numbers within the highest historical Percentage Wins to improve your chances of winning.

Factor #5: 
Have a look at the NUMBER COHORT SUMMARY Table, which shows you the most winning ranges. To increase your chances, try and keep within these winning ranges.

Factor #6: 
Check your First Number with the frequencies of all the other numbers that you have chosen for Positions 2 to 6. If your Position 2 to 6 numbers have a very low frequency, you might want to change them to numbers with higher frequencies.

Factor #7: 
Include at least one number from the Top 10 most frequently drawn numbers.

Factor #8: 
Numbers repeat themselves from previous draws. At least one should be in your chosen numbers too.

Factor #9: 
Never pick a 6 number combination that has previously been drawn.

Haven’t won the jackpot yet but have increased my odds a little bit;) If you’ve ever seen the movie Pi, you’ll have some idea of the head scratching that went on to complete this. But it was an educational process, as always. I tried to make good use of embedded patchers in Max which made creating a nice clean modular interface very easy.

Animation modulating Audio via MIDI CC

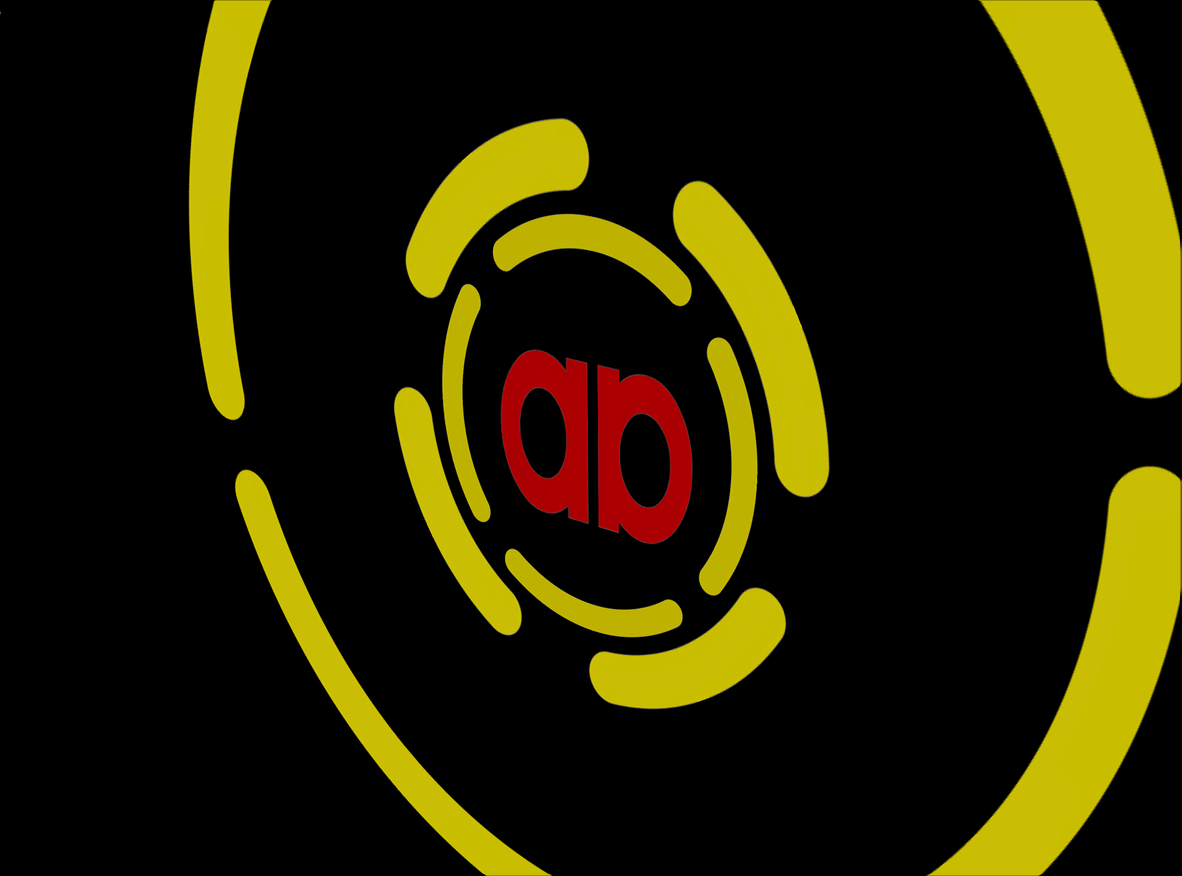
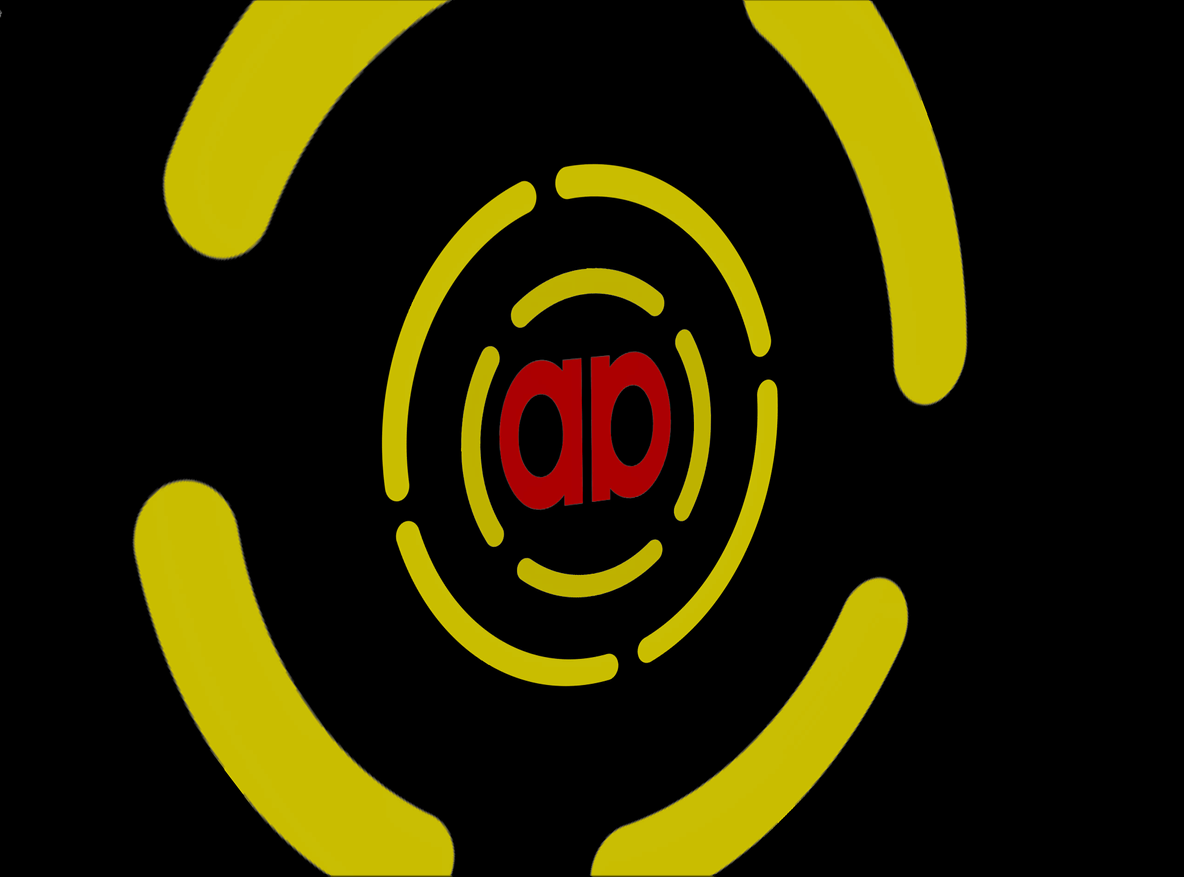
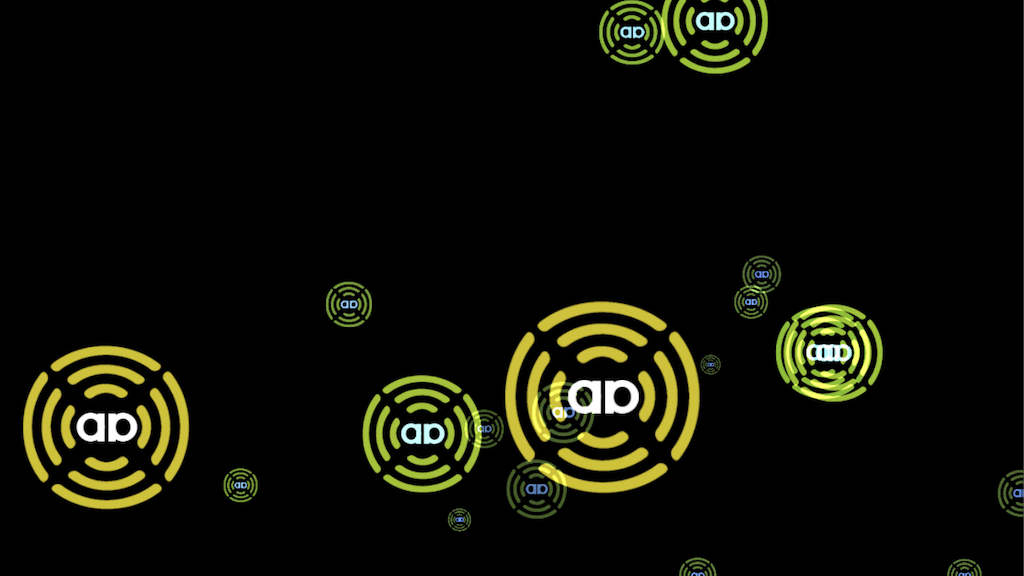
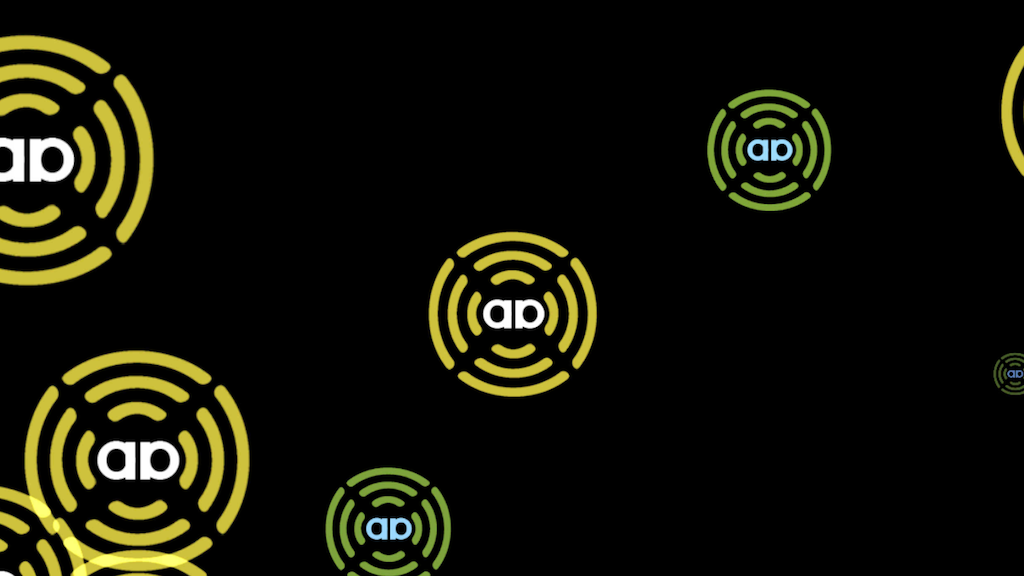
Another experiment using Quartz Composer. I’m using some Low Frequency Oscillators in Quartz Composer to animate layers of my logo graphic. These LFO’s are also sending MIDI CC messages which are being received by Kore’s preset morphing parameter:

-There is an LFO animating the rotation of the logo, this is also modulating the Y axis of the Kore morph parameter grid.
-There are also some LFO’s animating the several radius diameters of the logo, these are modulating the X axis of the Kore morph parameter grid.

I have also assigned a knob on my MIDI controller keyboard to the frequency of the LFO in Quartz Composer which is modulating the radius movement ( which in turn is modulating the X parameter in Kore:) Obviously I could just modulate Kore with MIDI (or the dedicated Kore controller which I also own;) but the exercise here was to have the animation movement modulate some audio. The audio loaded in Kore is from the Reaktor Animated Circuits soundpack.

Mario Theme on Guitar

playing around with mario sfx and adding rhythm guitar to the mario theme

audio controlling animation v3

Well... more of an audio visualizer experiment. Created in Reaktor with modified Lissajous curves. Sound Design also created in Reaktor.

Generative Halloween Tune

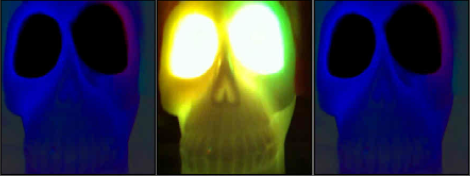
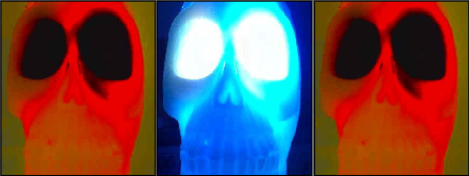
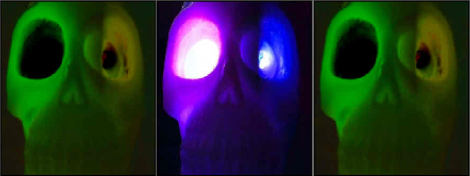
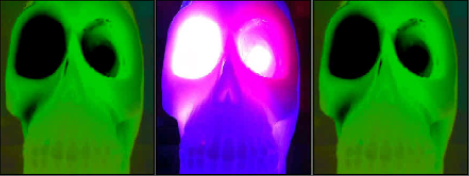
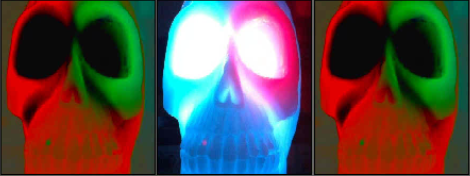
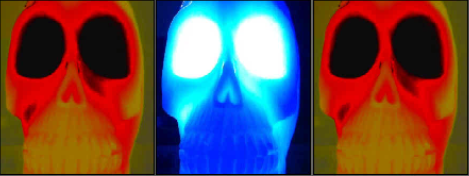
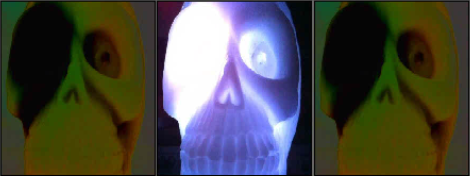
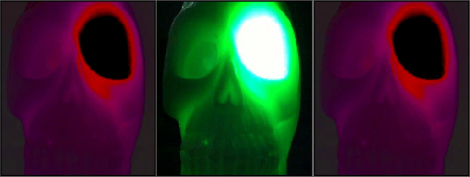
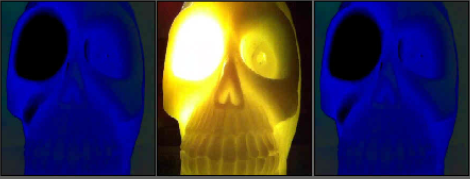
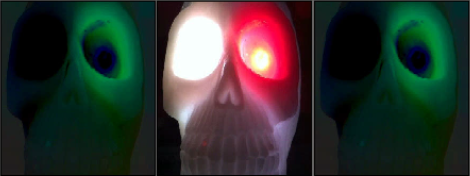
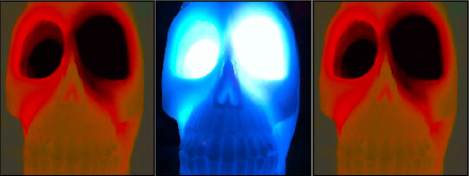
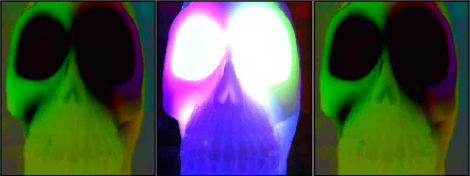
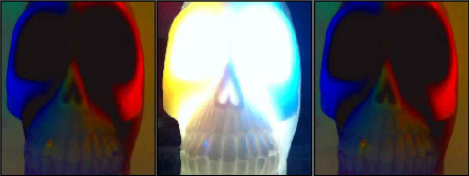
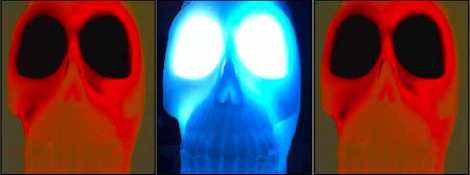
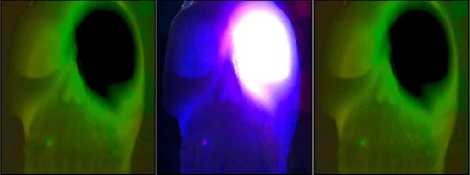
Okay, so this is a bit silly and was thrown together pretty quickly but I wanted to do something with a Halloween theme. What we have here is a flashing wax skull triggering MIDI notes in Max for Live with the colours Red, Green and Blue. This was all done in real time using my iPhone as a wireless web cam. The web cam video is being sent to MaxMSP, through some Jitter video extensions where some filtering was done, and then the RGB colours are extracted. Once that was done I decided to send MIDI notes to Kore2 instruments with the colour triggers.

The colours break down like this:
- Red - triggering random notes of the ‘creepy_Glockenspiel’ instrument in the key E minor
- Green - triggering random positions in ‘scary’ vocal samples loaded in Reaktor where some sample mangling is taking place
- Blue - cycling through a melody in E minor triggering the ‘haunted_organ’ instrument

The video in the center is the unfiltered version coming straight from the iPhone web cam. The other video is where the filtering is taking place and is where the colours are triggered from. I chose to put 2 filtered videos just because I thought it looked better... Also, this experiment was a bit of a pain since I don’t own the Jitter extension of MaxMSP. Jitter does however work in Max for Live but only at the runtime of a closed patch so I couldn’t audition my changes while editing the patch...

MaxMSP iPhone Saber

I just recently finished reading the book “The Sounds of Star Wars.” A lot of the techniques and record sources of Star Wars has been around for a long time but there was something very cool about having all the sound sources to play while reading about these recordings and processing techniques that were used. This book was a terrific read and I highly recommend it to any sound nerd:) Needless to say, it was very inspiring, which made me want to try and do some Star Wars design. And what better to experiment with than the light saber.

I’ve been doing a bit of OSC implementation in my Max patches so I thought i’d try and develop a loop based patch controlled by my iPhone. I recorded a whole bunch of source with my phonecoil mic and edited it into useful intro, loop and outro sounds to be triggered in my patch. Since I ended up with about 20 different sounds for each, I restricted the amount of voices and added a randomize feature to generate various different saber sounds.

The OSC was sent using OSCemote on my iPhone. Its basically modulating various parameters of a comb filter, phase effect, and doppler using X, Y and Z values. It was nice to add this sense of ‘movement’ with actual physical movement.

I’ve captured 12 different saber variations as it was easy to keep creating a slightly different timbre with the source loops. The patch is a bit of a work in progress and I plan on making it more modular for easy prototyping using loops in this way with effects processing.

audio controlling animation v2

Another experiment with audio controlling animation using Quartz Composer. This time its simply the audio amplitude scaling the overall image sizes. The images are randomly generated in multiple directions and falling with a set gravity value.

Max4Live wireless & manual Buffer control

buff-multitouch.png

My first Max for Live audio device! It’s got a few bugs but was a fun and educational process. It’s basically an audio buffer looper that can load sounds or be directly recorded into. The user then has the ability to play back an adjustable loop selection of the buffer with control over playback rate (pitch) and direction. It can also be controlled by OSCemote running on the iPad or iPhone.

On the iPad, the Multi Touch page communicates with 2 points of X/Y values. For the first finger X = selection position Y = selection width. For the second finger X = playback rate/direction Y = volume.

On the iPhone, the Accelerometers XY values controls the selection position and width. The simultaneous X value of the multi touch page controls playback rate/direction.


Max for Live audio buffer device. Samples can be loaded into the buffer or be directly recorded into. User can adjust the selection of the buffer to loop and its playback rate/direction.

Wineglass

I recently purchased a fairly inexpensive stereo hydrophone from cold gold microphones. My first adventure with it was this wineglass session. Some nice tones from flicking it, blowing some bubbles of course and great oscillations from rubbing the rim of the glass. Recorded at 96KHz/24Bit. Some pitching and slight delay/reverb added.

Pd~OSC 8bit touch sequencer control

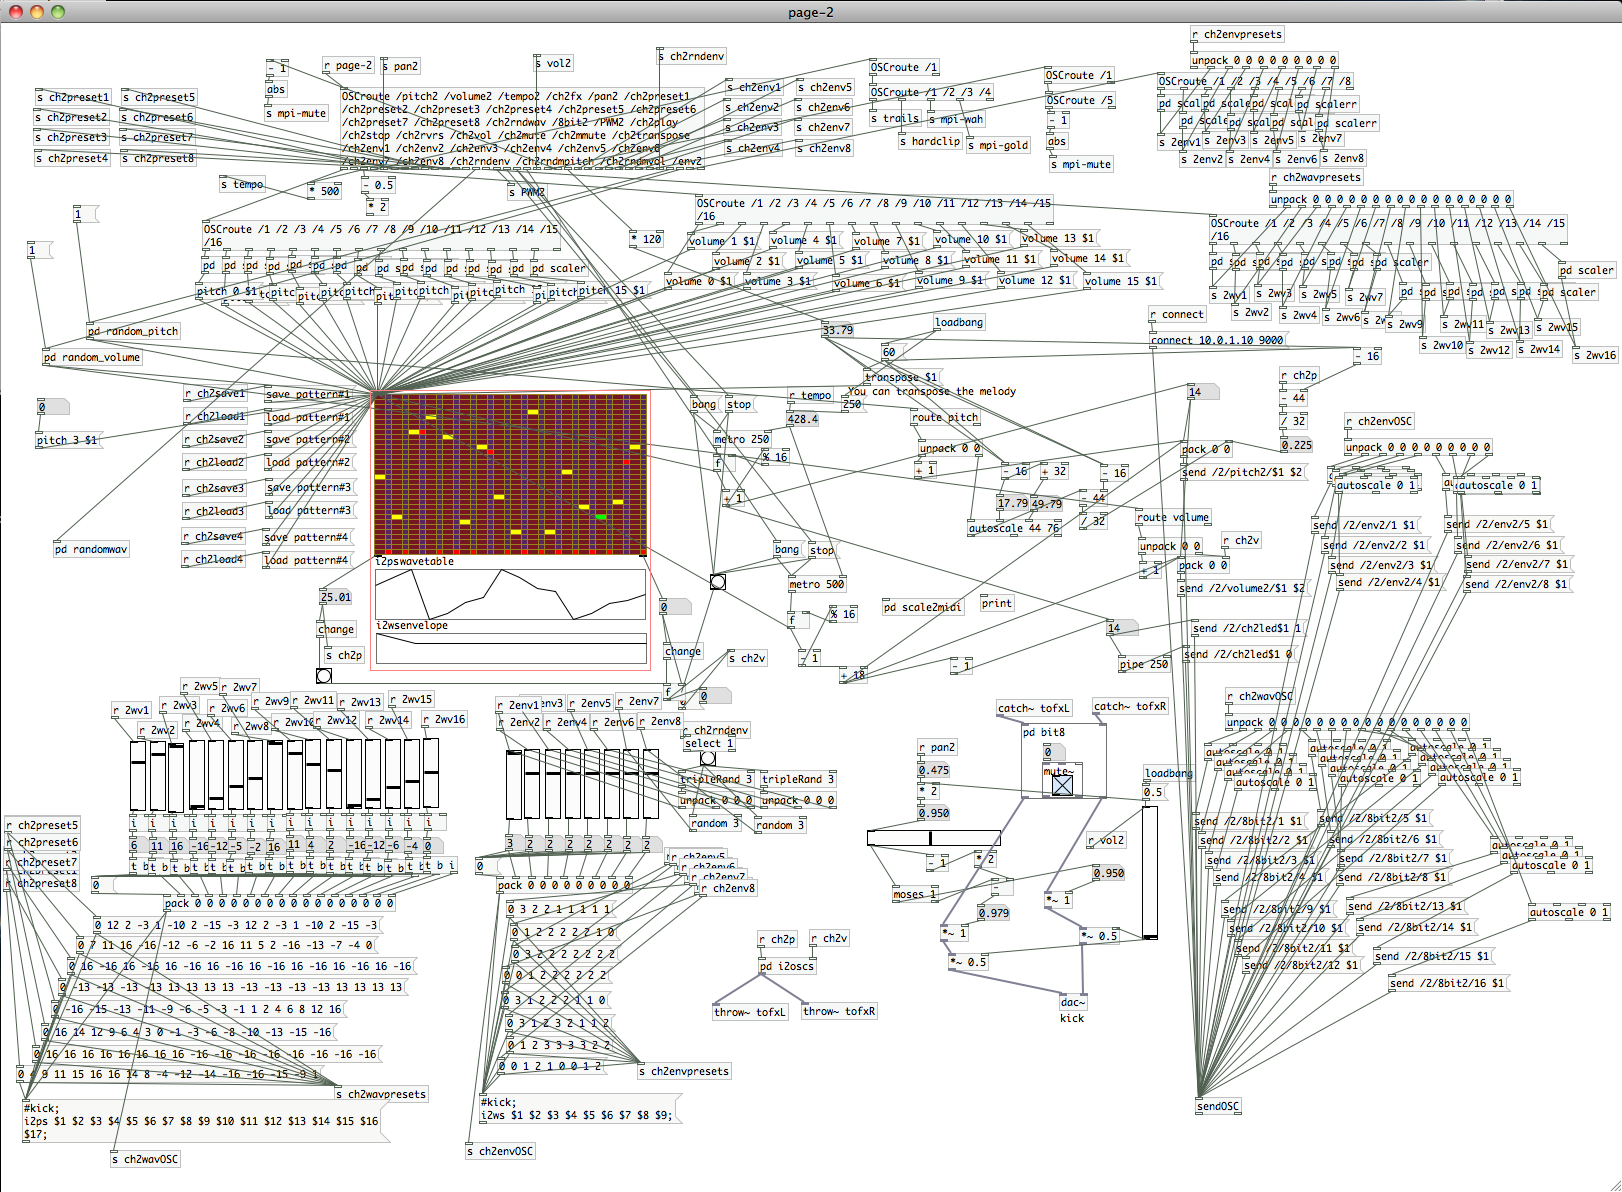
The user can adjust the 16 step pitch and volume sequences which is reflected in the one pianoroll object in Pd. There is a randomize button for the pitch and volume sequence. Each step is highlighted with a green dot on the interface 16 step timeline. The sequence can be played forwards and backwards with adjustable tempo and transposition. The wavetable has 8 presets, a randomize function and can be drawn in, which is reflected in the wavetable window in Pd. The envelope also has 8 presets, a randomize function and can be drawn in, it is also reflected in the envelope window in Pd. There is also 5 effects: delay, distortion, wah, trails and pulse width modulation. And of course a transport section complete with pan, volume, mute, momentary mute, play forwards, play backwards, and stop.
This was more an exercise of implementing control than anything else, it actually doesn’t sound the greatest as it is still just an 8bit sequencer but it has a nice chiptunesque retro quality. I actually like the juxtaposition of the old sound with the new control technology. 
Audio in the video does not start until 00:34

Fan Drone

recorded my bathroom fan with contact mics and made a drone

Audio controlling Animation v1

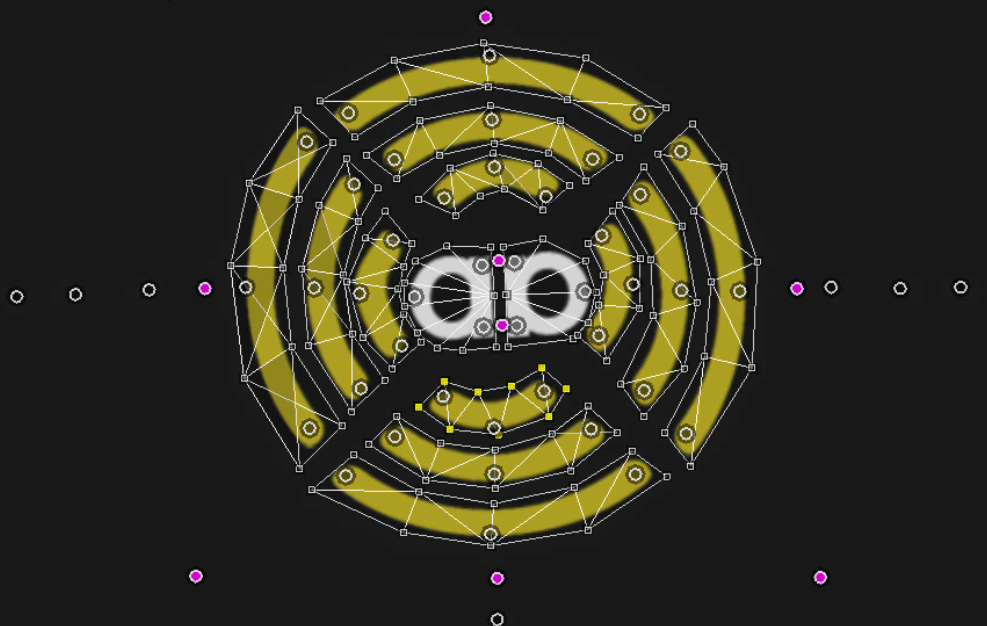
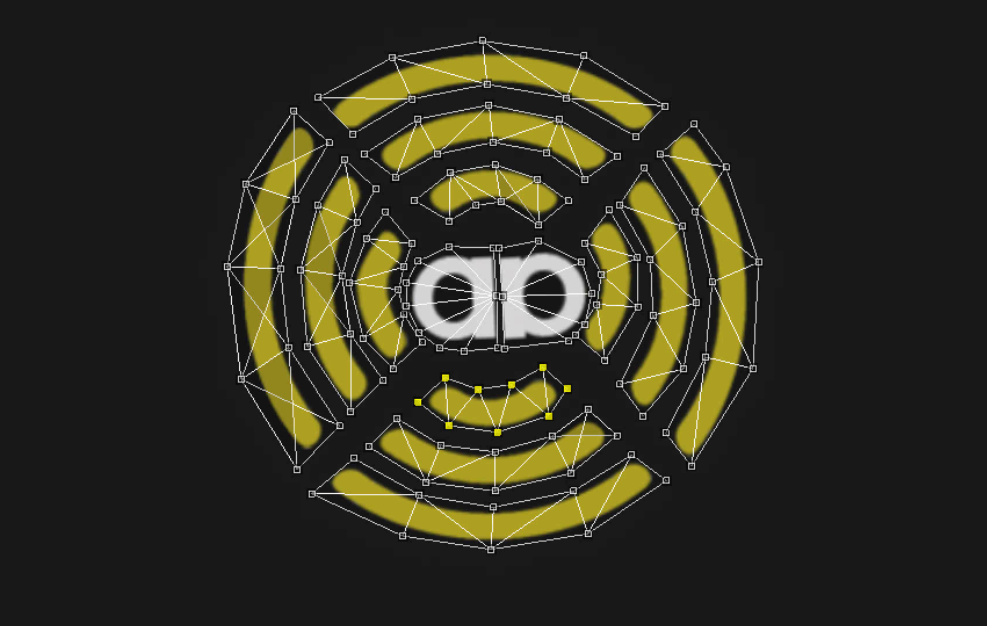
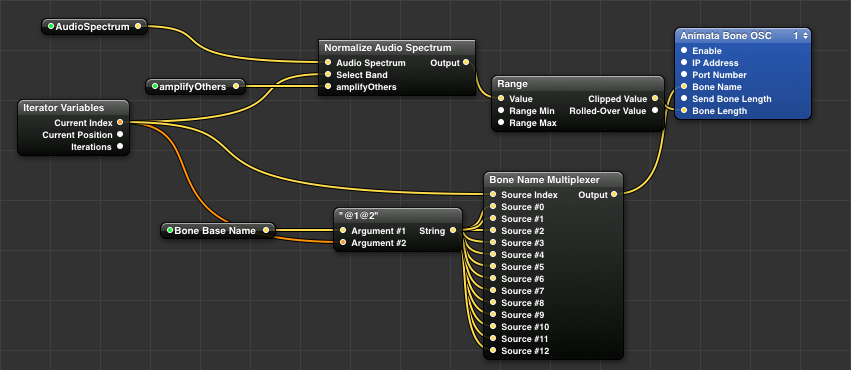
Audio is being fed into Quartz Composer where it is being divided into multiple frequency bands. Each bands energy is scaled and the values are sent as OSC messages to Animata which animates the graphic.

iDevice Noisemix

Electronic track made from phone coil recordings of my new iPhone syncing.

iPhone 4 sync

My iPhone4 syncing recorded with phonecoil microphone. I think i'm gonna make a electronic/noise track with the source recordings.